 mockup
A jacket mockup needs more than a graphic centered on a blank canvas. The zipper divides the front, pockets compete for space, and seams can interrupt lettering. Start with a jacket silhouette that matches your idea, place one graphic, then rotate the preview before deciding on a layout.
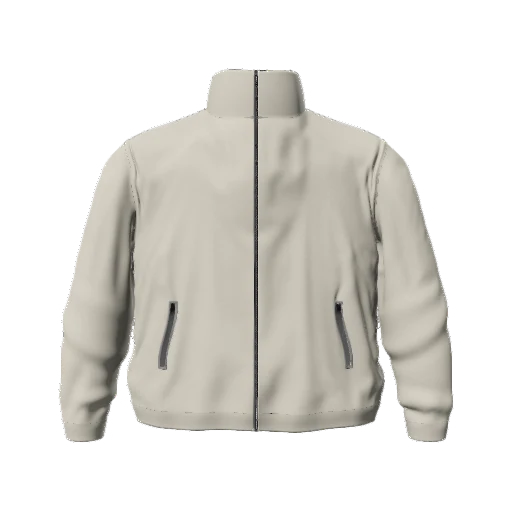
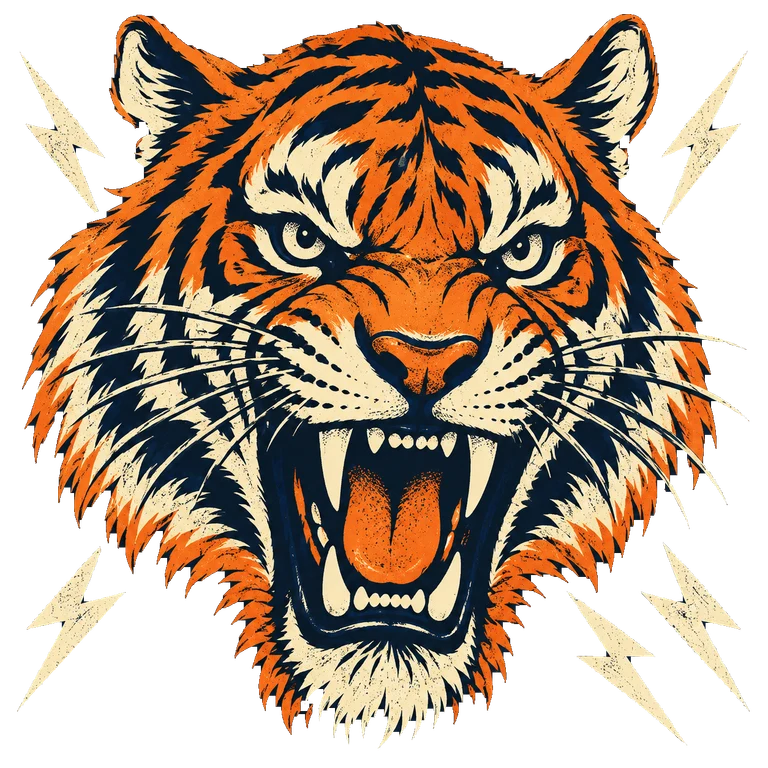
Design around the jacket’s construction. Keep important artwork clear of closures, and confirm production placement with your printer.
Choose the closest jacket silhouette
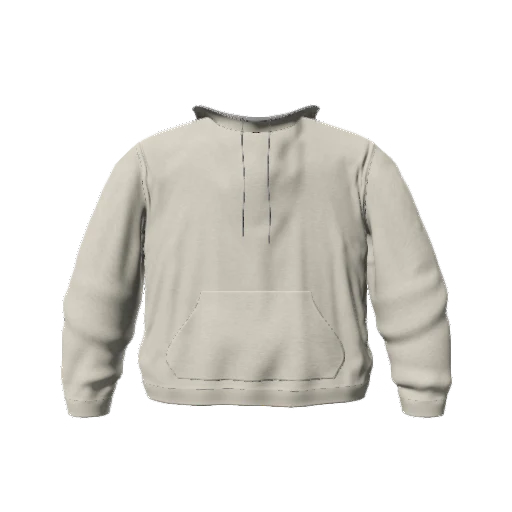
Open an available jacket in 3D Mockup and select a neutral garment color. Compare the collar, hem, sleeves, and pocket arrangement with the real garment you have in mind. A zip jacket, overshirt, and puffer vest offer different surfaces for a design.
Treat the render as a concept if it differs from your intended blank. Changing a color or enlarging a logo does not change the garment’s construction. Keep a photograph or specification of your real blank nearby when judging the layout.
Place a chest logo beside the zipper
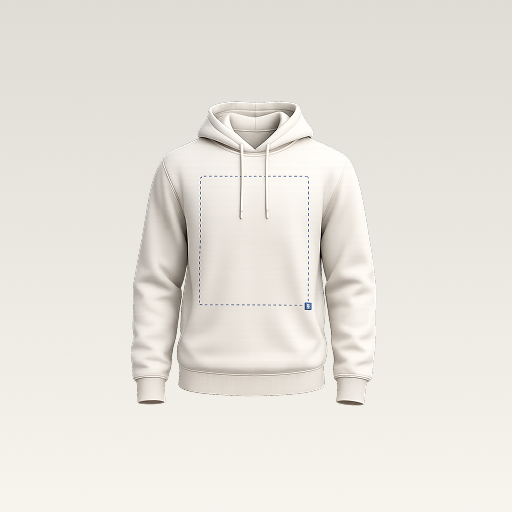
Import a transparent PNG of your artwork and try a small chest placement first. Leave visible space around the zipper and pocket edge. Center the visible artwork within the available panel rather than centering the entire file on the jacket.
A graphic spanning both sides of a zipper may look continuous in a closed preview but separate when the jacket opens. Compare a single-panel logo with a larger front concept. Do not assume the physical printer can reproduce a design across a closure.
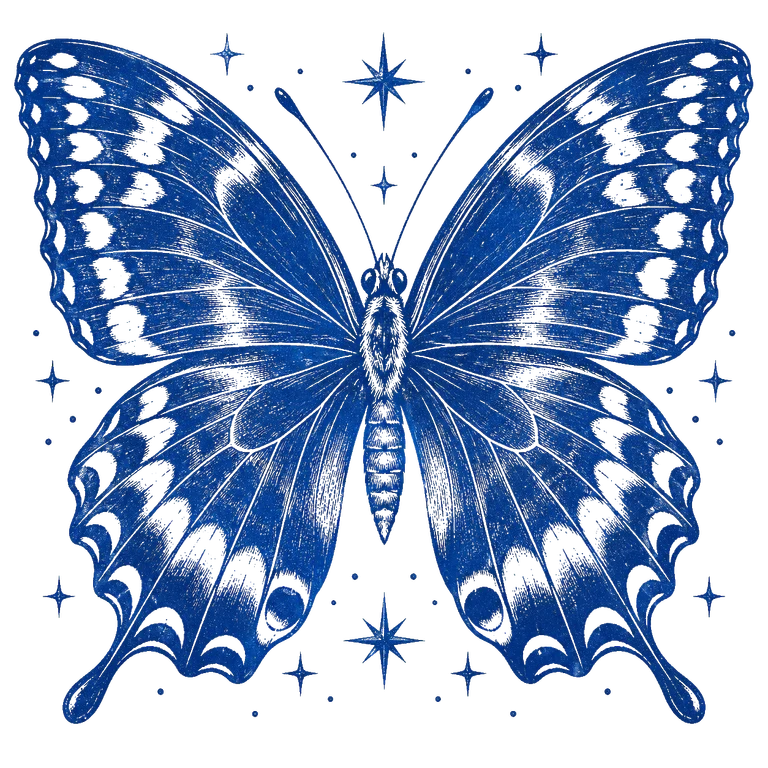
Prepare a clean transparent logoCheck the back independently
Rotate the jacket and compose the back separately. Keep essential text away from the collar and inspect the shoulder seams. Try one large illustration and one simpler version; compare their readability at the size of a social post or presentation thumbnail.
If a hood, yoke, or panel overlaps the area, account for it before exporting. A convincing flat front does not guarantee that the back placement works. Save the project before experimenting with a second composition.
Compare colorways with consistent lighting
Keep the camera, background, and lighting unchanged while comparing light and dark jacket colors. Check small text, dark outlines, and intentional white details. Adjust your original artwork if the contrast fails rather than brightening the scene to hide the problem.
Create a consistent colorway setExport the concept and prepare the handoff
Export a front and back PNG with similar framing. Reopen each image outside the app and check that the zipper, logo, and full garment remain visible. Label the files by garment, view, color, and version so collaborators can identify the chosen concept.
Keep your original graphic separate. Confirm print dimensions, seam restrictions, and decoration methods against the supplier’s actual jacket template. A visual mockup does not establish waterproofing, embroidery quality, fit, or manufacturing feasibility; request a sample when these affect the decision.
Quick answers
Can a jacket logo cross the zipper?
You can explore that appearance in a concept, but a closure interrupts the physical surface. Confirm placement and decoration options with the supplier before approving production.
Can I make jacket mockups on iPhone or Android?
3D Mockup is available on both platforms. Choose an available jacket, add your artwork, inspect the 3D preview, and export a PNG. Studio access requires a subscription.
Further reading
Mockups visualize a design on a product; production decisions still need the actual product requirements.
Published by 3D Mockup. These guides explain a mockup workflow, not manufacturing specifications. Studio access requires a subscription; AI artwork generation uses credits.