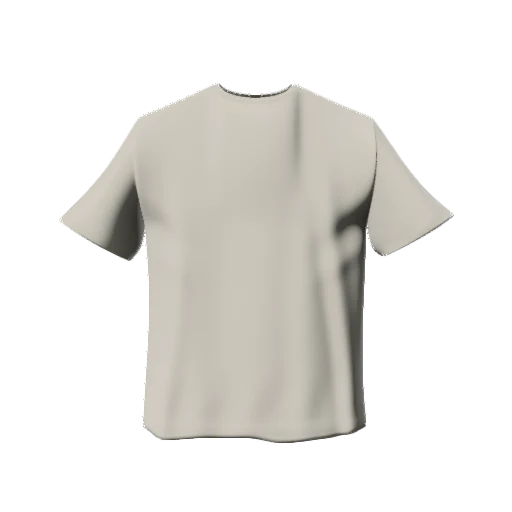
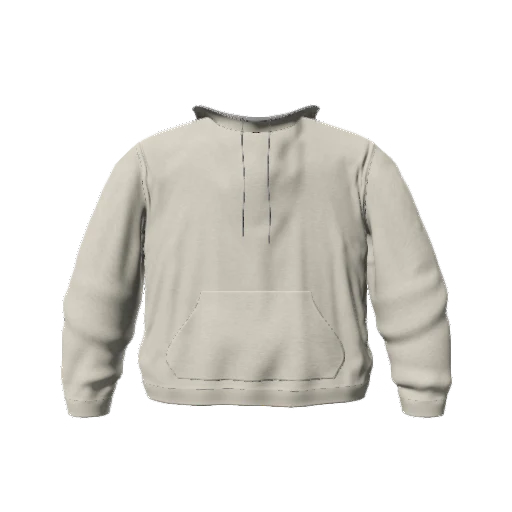
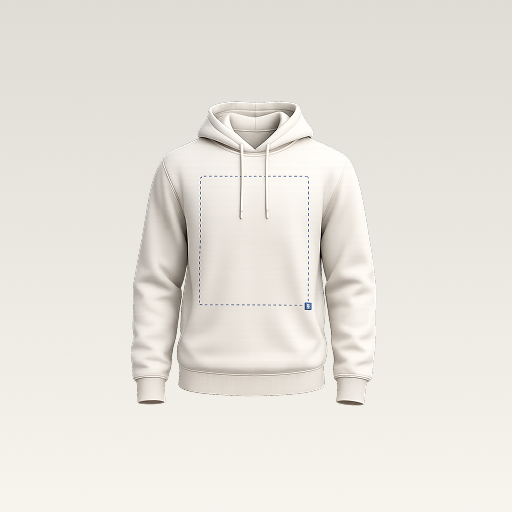
 mockup
A white box around your logo usually means the background is part of the image, not that the garment editor has added one. Export the original design with its background removed, preserve transparency in a PNG, and re-import it. Changing a file's name from .jpg to .png does not remove the background.
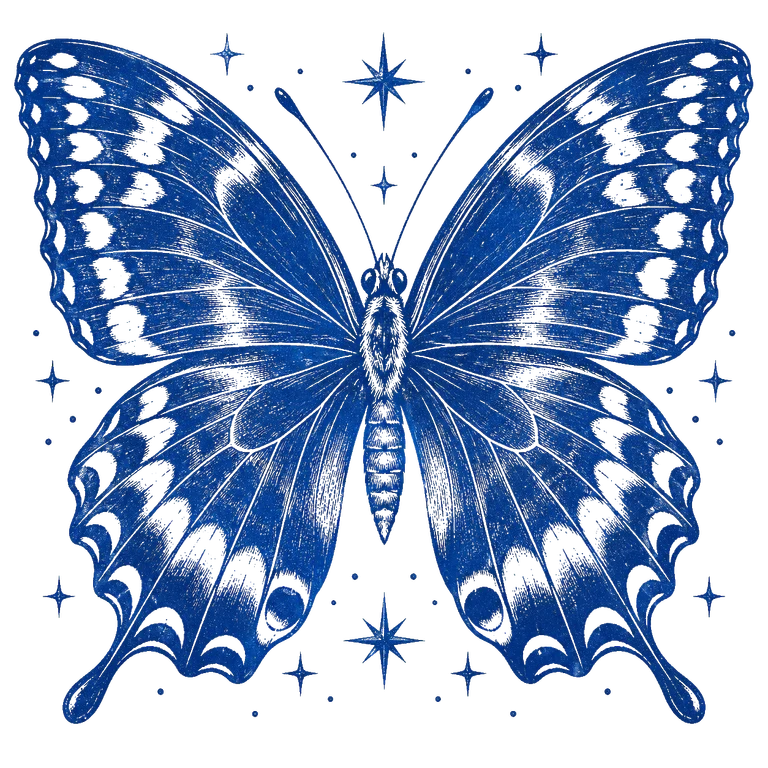
PNG supports transparency, but not every PNG is transparent. Check the actual pixels, not the file extension.
First, check what is actually in the file
Open the source artwork in an editor that displays transparency as a checkerboard. The empty area around the logo should reveal that checkerboard, not a flat white canvas. Try placing a temporary dark layer behind the design to expose leftover pale pixels.
A checkerboard can also be baked into an image downloaded from a preview page. If the squares stay visible when you put a solid color behind the artwork, they are part of the picture. Obtain the original transparent file rather than using a screenshot of the preview.
Export without the background layer
Hide or remove the unwanted background in your artwork editor, then export a PNG with transparency enabled. Standard JPEG files do not preserve a transparent background. Converting a JPEG to PNG keeps its white pixels unless you remove them first.
Keep intentional white details inside the design. Removing every white pixel can punch holes through lettering, highlights, or illustration details. Background removal should target the surrounding canvas, not erase a color indiscriminately.
- Turn off the background layer before export.
- Preserve intentional white lettering and illustration details.
- Reopen the exported file and check it on a dark background.
- Import the corrected file as a new image layer in your mockup.
Fix white halos around the edges
If the box is gone but a pale outline remains, inspect the edge pixels at higher zoom. Artwork cut out from a white background can retain light pixels along curved edges. These become obvious on a black hoodie even when they looked fine on a white canvas.
Refine the cutout in the original artwork tool, or export again from the source vector if you have it. Do not keep shrinking and re-enlarging the same low-resolution copy. Each version should come from the cleanest source available.
Check at least two garment colors
Before calling the file finished, put it on both a light and a dark garment in 3D Mockup. Inspect the main outline, any fine text, and areas intended to be empty. This quick comparison often reveals issues that were invisible in the source editor.
Save the corrected artwork separately from the mockup. That gives you a reusable source for a T-shirt, hoodie, or future colorway instead of a finished image with a garment permanently baked into it.
Put your cleaned-up artwork on a T-shirtQuick answers
Does renaming a JPG to PNG make it transparent?
No. Renaming the file does not change its pixels or remove a background. Remove the background in an artwork editor and export an actual PNG.
Why does a transparent logo disappear on a white T-shirt?
The logo itself may be white. Transparency removes the surrounding canvas, not the white details you intentionally kept. Try a darker garment or a contrasting version of the logo.
Further reading
Reference for PNG versus JPEG and checking transparency. Production settings must follow the chosen print product.
Published by 3D Mockup. These guides explain a mockup workflow, not manufacturing specifications. Studio access requires a subscription; AI artwork generation uses credits.