 mockup
A hoodie mockup works best when the artwork responds to the garment, not just the center of the screen. Check the neckline, pocket, hood, and folds before deciding that a placement is finished. Start with a simple front graphic, then inspect the design in 3D from the front, side, and back.
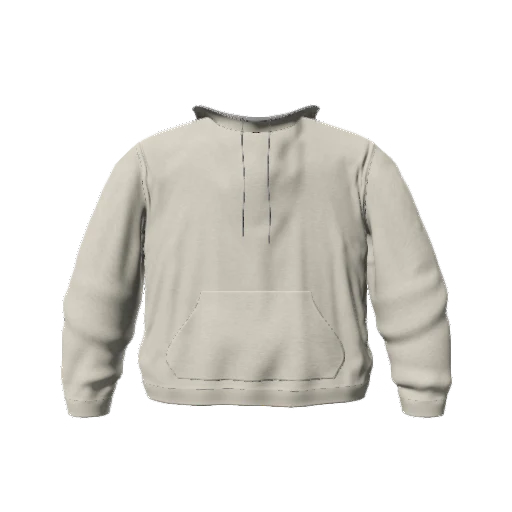

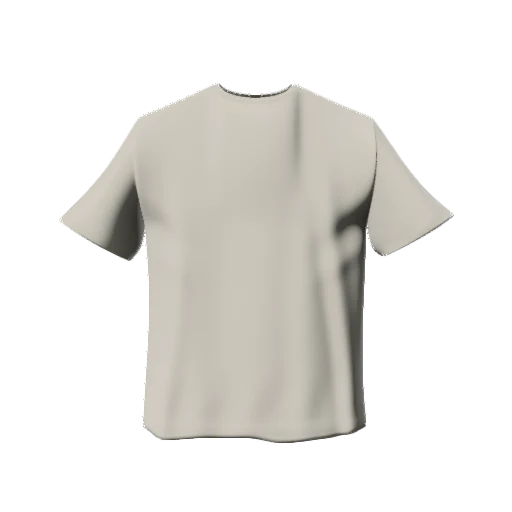
Choose placement for the actual garment shape. A great T-shirt composition does not automatically translate to a hoodie.
Read the garment before adding the graphic
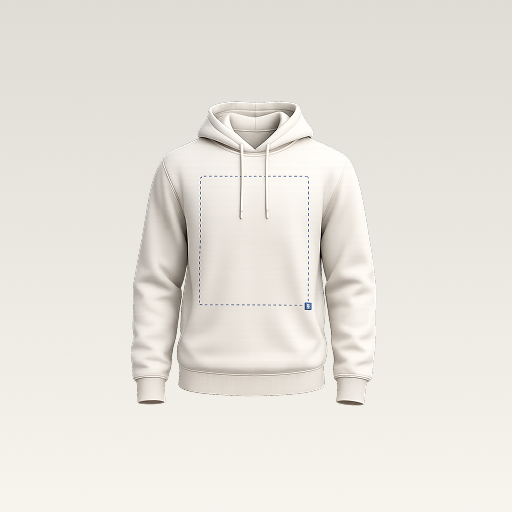
A hoodie has more competing shapes than a plain tee. The hood frames the neck, the pocket changes the lower front, and the sleeves can make the body look wider. These features affect how large a graphic feels, even before you change its scale.
Choose the closest available silhouette for your concept and start in a neutral garment color. If your production blank differs from the mockup, keep that difference in mind. The app's preview is not a promise that the artwork fits a supplier's print area.
Balance a front graphic with the pocket
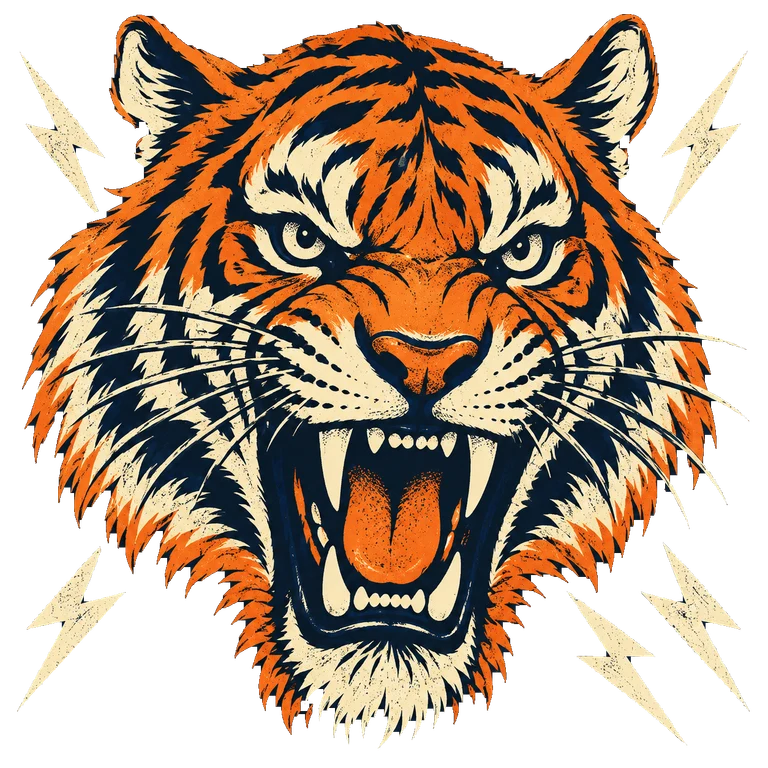
For a centered front print, leave visible space below the neckline and above the pocket. Position the visible graphic, not just the image file's bounding box. Transparent margins can make a correctly aligned layer look strangely small or low.
Try two deliberate versions rather than endless tiny nudges: one compact chest graphic and one larger statement graphic. Compare them at the same camera angle. A design that looks impressive when zoomed in may be unreadable as a small product image.
- Avoid placing essential text across a pocket edge in your concept.
- Inspect the smallest details at normal viewing size.
- Compare a clean front view with one angled view before deciding.
Treat the back as a separate composition
A back graphic gives you a different canvas, but the hood still matters. Inspect where the hood overlaps the upper back in the preview. If your most important text sits directly under it, consider moving that information lower or simplifying the layout.
You do not need matching front and back graphics. A small front logo and a more expressive back design can have a clear hierarchy. Keep shared elements, such as type style or a recurring color, consistent so both sides feel like one piece.
Test contrast before changing lighting
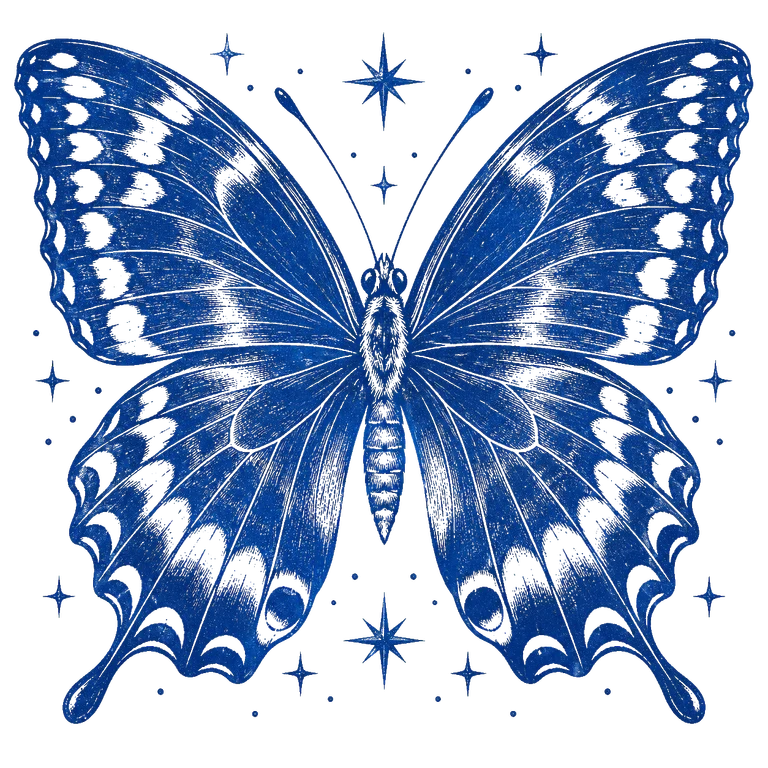
Switch between a light and dark garment color to see whether the design survives both. If an outline disappears, fix the artwork rather than relying on a dramatic light to make it visible. Keep the lighting and camera consistent while comparing colors.
In 3D Mockup, import the graphic as an image layer, adjust its placement, and use the garment preview to check your decisions. Save a project before experimenting so you have a useful version to return to.
Build a consistent set of colorway previewsBlack and oversized hoodie mockups need another check
On a black hoodie, check the design's darkest details before adding dramatic lighting. A dark logo outline may disappear into the fabric. Prepare a contrasting artwork version if needed, then compare both versions with the same camera and lighting.
For an oversized hoodie concept, use a model that actually matches the wider body and dropped shoulders when one is available. Enlarging the graphic on a regular-fit mockup does not turn the garment into an oversized blank. If the app's available silhouette differs from the garment you intend to make, label the preview as a concept and confirm the composition against the real blank before production.
Use the mockup to communicate, not to specify production
Export a front and back preview when both sides matter. Keep the background quiet, use consistent framing, and label the images clearly. A printer or collaborator should be able to understand the concept without guessing which version is final.
Before ordering, use the supplier's actual product guidelines for print areas, file preparation, and placement measurements. Confirm pocket and seam restrictions with the printer. Request a physical sample when the final placement or finish is important; an on-screen render cannot verify those details.
Quick answers
How far below the neckline should a hoodie print sit?
There is no single measurement that works for every hoodie and print method. Use the mockup to explore the visual balance, then confirm measurements with the printer's actual garment template.
Can I copy my T-shirt design onto a hoodie?
You can reuse the artwork, but recheck its scale and position. The hood, pocket, and different proportions can change the composition.
Further reading
Production requirements vary by product. Check the supplier's own template before sending artwork.
Published by 3D Mockup. These guides explain a mockup workflow, not manufacturing specifications. Studio access requires a subscription; AI artwork generation uses credits.