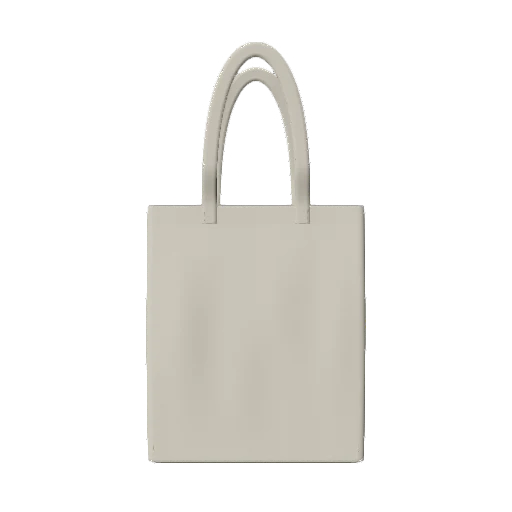
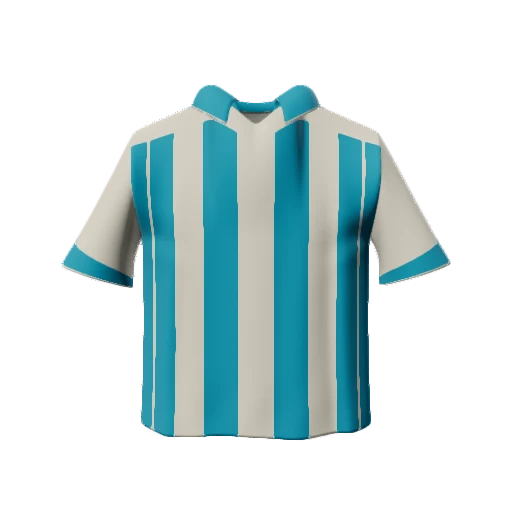
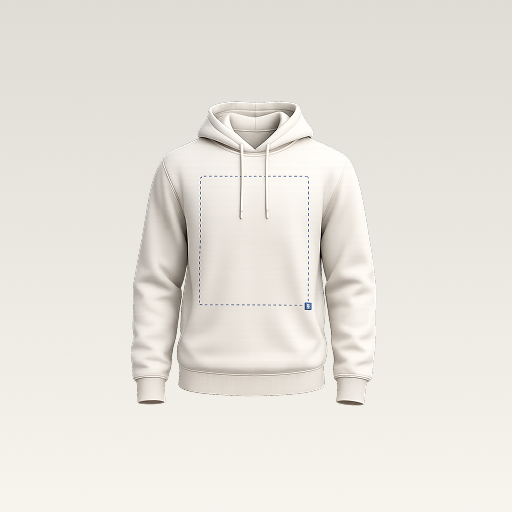
 mockup
Before turning a first clothing-drop idea into an order, make it specific enough that another person can understand it. A useful brief states who the piece is for, what the garment is, where the artwork goes, and what still needs testing. Start with one focused product concept and use the mockup to expose unanswered questions.
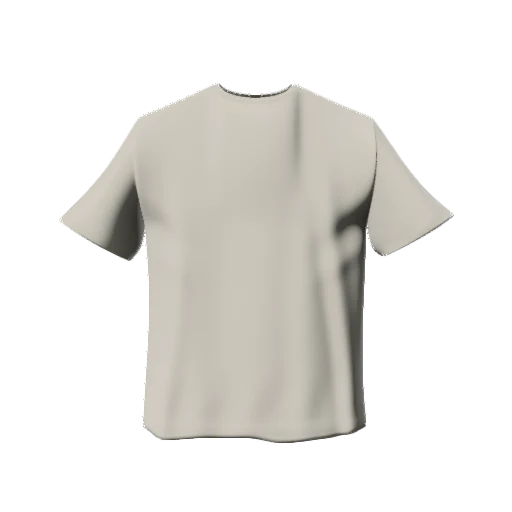

Use the first brief to reduce ambiguity. A compelling collection image is a starting point for sampling, not evidence that the product is ready to sell.
1. Write one sentence that defines the product
Replace make a streetwear brand with a concrete statement: a heavyweight-feeling graphic tee for a small music project, or a simple club polo for event staff. These are example briefs, not recommendations for a market. Name the intended wearer, use, silhouette, and role of the artwork. It becomes easier to reject extra details when you know what the piece is supposed to do.
Separate confirmed facts from preferences. If you have chosen a supplier’s exact blank, record the reference. If you only know the visual mood, write that the garment is still being sourced. A mockup can communicate a silhouette, but it cannot confirm fabric weight, feel, sizing, or availability just because the image looks convincing.
2. Build a small design system before expanding the collection
Choose a compact group of visual rules: one main mark, a supporting type style, and a limited palette. Give each element a role. For example, the front could identify the project while the back carries the main illustration. Reusing those rules across a second garment creates coherence without requiring the same oversized graphic everywhere.
Keep a list of optional additions outside the first brief. A cap, tote, and jacket can each introduce new placement questions and new sample work. Decide whether an extra style adds something useful or simply repeats the original idea on another model. A focused comparison is easier to review than a board containing every possible product.
Check how the same identity changes on a polo3. Create comparable mockups to answer specific questions
Write the question before making the next image: small chest mark or large front print; dark garment or light; back illustration or front-only. Compare two versions with matching camera angle and lighting. If every concept changes the garment, background, typography, and color together, you will struggle to identify which decision the reviewer actually prefers.
3D Mockup gives you a way to place artwork on available garments, inspect it from multiple angles, and export a concept from your phone. Use it as a quick visual workbench while the brief takes shape. Keep your source artwork separate, and note any differences between the preview model and the actual blank rather than letting the image silently settle a manufacturing question.
4. Make a sample answer the things an image cannot
List the questions for the sample: Does the garment fit as intended? Is the artwork readable at the chosen physical size? Does the decoration finish suit the fabric? Is the actual color acceptable? These are different questions from whether the composition looks balanced in a render. Record how you will inspect them so the next decision is based on evidence.
Ask the supplier what artwork, measurements, and product information it needs before sampling. For a custom manufactured garment, a design brief alone may be insufficient; the manufacturer may require a technical pack and other development work. For an existing blank, use that product’s decoration requirements. Do not assume that one generic document covers both processes.
5. Assemble a folder that separates concepts from production files
A clear handoff can be small: selected front and back mockups, original artwork, a product reference, and a brief naming the chosen versions. Include an explicit list of unresolved decisions. Put rejected concepts in a separate folder so they cannot be mistaken for the design you want sampled.
Use names that survive a conversation: project-garment-color-view-v03 is more useful than final-final. Record the desired artwork width and position using the supplier’s agreed references. If a graphic is raster, check its pixel dimensions at the intended print size. A presentation PNG that includes the garment is not the print artwork.
- Exact garment or blank reference, or a clear sourcing question.
- Chosen artwork files and version numbers.
- Selected colors and front/back views.
- Decoration method and dimensions to confirm with the supplier.
- Named approval owner and open sample questions.
6. Record what was approved and what changed
Review the sample against the brief instead of against memory. Keep a photo of the sample and a short change list. If the artwork moves, the garment reference changes, or a different color is selected, update the brief and the relevant preview together. That makes the next supplier conversation and any later reorder much clearer.
Before presenting the finished product for sale, make sure its images and descriptions reflect the actual item. A mockup can help explain a concept during development; physical product photos can communicate fabric, construction, and finish once a sample exists. A polished launch board alone does not confirm that production, fulfillment, or customer expectations are ready.
Quick answers
Is a design brief the same as a tech pack?
No. A brief explains the intended product and decisions. A technical pack supplies manufacturing details such as measurements and construction information; the exact requirements depend on the manufacturer and project.
Should I design every product before ordering a sample?
You can start with a focused concept and sample the questions that matter most. The useful goal is to learn whether the real garment and decoration match your idea before expanding the work.
Can a mockup replace a physical sample?
It can narrow visual options, but it cannot establish fabric feel, fit, print finish, or production consistency. Use the sample to evaluate those properties.
Further reading
Background on the wider process of developing and presenting clothing. This guide focuses specifically on the design brief.
Reference for distinguishing early collection choices from detailed manufacturing preparation.
Published by 3D Mockup. These guides explain a mockup workflow, not manufacturing specifications. Studio access requires a subscription; AI artwork generation uses credits.