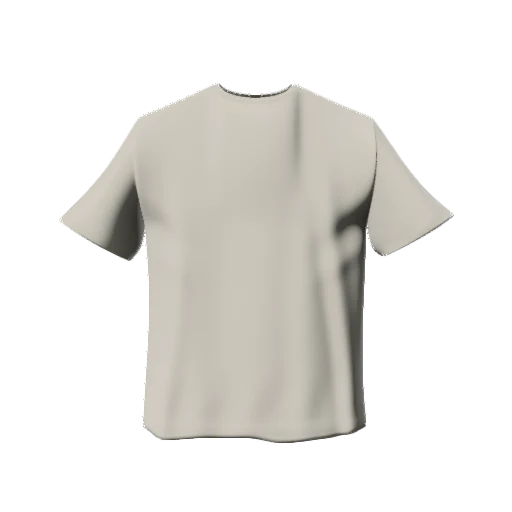
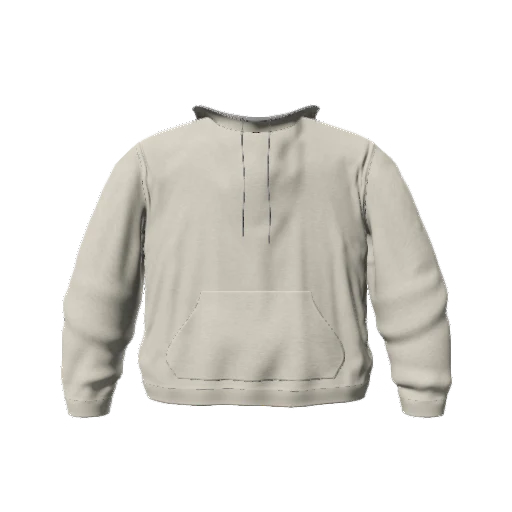
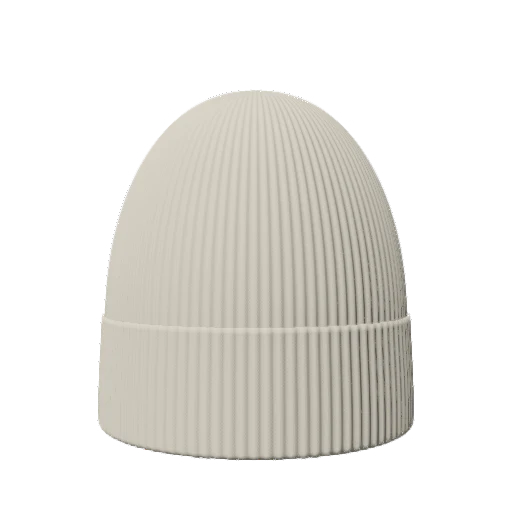
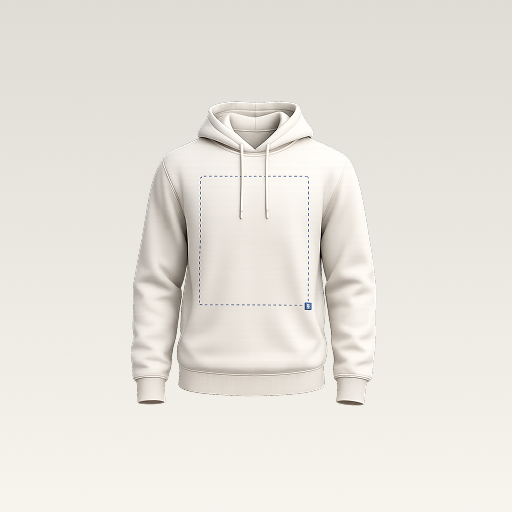
 mockup
A fashion moodboard is a small set of visual references that helps you make consistent design decisions. It becomes useful when you can explain what each reference contributes: a color relationship, a silhouette, a texture, or the mood of the collection. Start with a direction you can describe in one sentence, then select images that help you test it.
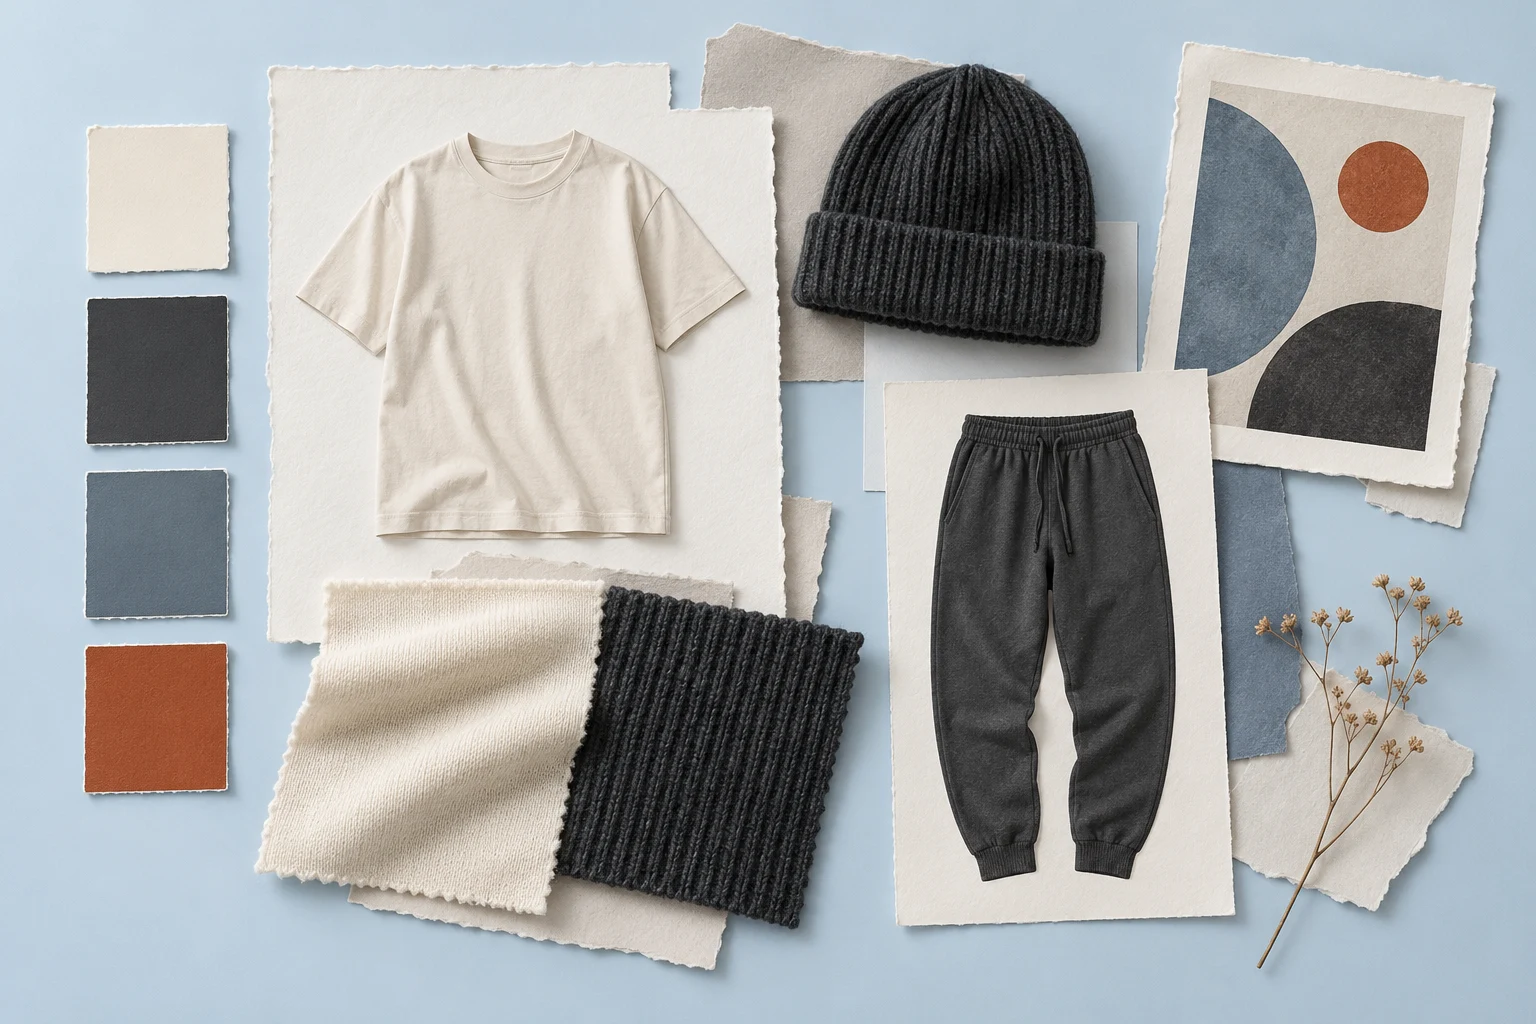
Choose references for a reason, translate them into design rules, and test those rules on a garment before expanding the collection.
1. Name the direction before collecting more images
Write three words that describe the intended feeling and one sentence about the wearer or occasion. For example, quiet, tactile, and practical could describe everyday pieces for someone who prefers a small, repeatable wardrobe. This is a design exercise, not a market prediction. Its purpose is to help you reject attractive references that belong to a different idea.
Add one boundary as well: no glossy finishes, no oversized lettering, or only one accent color. A useful boundary makes later choices easier to explain. Without one, a board can become a collection of things you like rather than a direction another person can apply. Keep alternative directions on separate boards instead of trying to reconcile every reference in a single collage.
2. Give every reference a specific job
Collect a small group of images, then sort them by what they contribute. A photograph might explain atmosphere while a fabric close-up explains texture. A garment reference can suggest proportion without becoming a design to reproduce. Label the reason in your working board so collaborators do not mistake a lighting reference for an instruction about the garment’s construction.
Separate inspiration from artwork you intend to print. Keep a record of where references came from, and use your own or appropriately licensed assets in the final design. An image on an inspiration board is not automatically a usable graphic file. If one reference is doing all the work, identify the underlying quality you like and find other ways to express it.
- Atmosphere: the feeling or setting.
- Palette: the relationship between dominant and accent colors.
- Silhouette: the shape and proportions of the clothing.
- Texture: the appearance you want to investigate with real materials.
- Graphic language: the role of type, symbols, or illustration.
3. Turn the board into a small palette and a few rules
Choose a dominant color, a supporting neutral, and an optional accent rather than giving every swatch equal importance. In the example board, cream and charcoal carry most of the visual weight while slate and rust provide smaller decisions to test. The helpful question is where each color belongs: garment, artwork, background, or a minor detail.
Write a short rule for silhouette, texture, and graphics. You might choose simple relaxed shapes, visible knit texture, and one restrained geometric motif. Those are proposals to test, not material specifications. A photograph cannot establish exact fabric weight or hand-feel, and a screen swatch cannot guarantee the color of a manufactured garment. Confirm important physical choices with the actual supplier and samples.
4. Test the direction on one garment
Choose a single piece and ask whether the rules still make sense when they share one surface. Does the graphic support the quiet palette or dominate it? Does the intended silhouette change where the motif should sit? Compare one restrained composition with one more expressive version using the same camera and lighting so you can identify the actual difference.
This is where 3D Mockup can help on your phone: place your own artwork on an available garment, inspect the composition from several angles, and export a concept for review. Create the moodboard in a separate board or layout tool; use the app to test the clothing idea that comes out of it. Keep any difference between the preview model and your intended blank visible in your notes.
Compare the palette with consistent colorway previews5. Edit the board after the first design test
Return to the board with the exported concept beside it. Remove references that no longer explain the work and replace vague words with decisions you can observe. If tactile was only represented by dramatic lighting, add a real fabric-reference question to the brief. If the accent color overwhelms the garment, reduce its role instead of collecting more unrelated colors.
Ask a collaborator to describe the direction without hearing your explanation first. Differences between their interpretation and yours reveal which parts remain ambiguous. This is a useful review exercise, not a test of whether someone shares your taste. Save the previous board as a separate version so the reasons for a change are not lost.
6. Hand off decisions, not just a collage
Attach the chosen board, a short written direction, and one or two garment previews to the next brief. State which colors and graphics are selected, which materials are still being investigated, and which model is only illustrative. A moodboard helps a designer understand the intention; a production brief needs the appropriate product references and specifications as well.
Keep the original artwork, source references, and presentation images in different folders. That prevents an inspiration image or a garment render from being mistaken for a print file. When the collection grows, revisit the same rules before adding another style. The board should help you make the next decision with less explanation, rather than simply look impressive on its own.
Turn the direction into a clear first-drop briefQuick answers
How many images belong on a fashion moodboard?
There is no required number. Use enough references to explain the direction, but remove images that repeat the same point or introduce a competing idea.
Can 3D Mockup create the whole moodboard?
Use a separate board or layout tool to assemble the references. 3D Mockup helps you test the resulting artwork and color decisions on available garment models and export previews.
Is a moodboard a tech pack?
No. It communicates visual direction. Manufacturing needs product-specific technical information and confirmations that a collage cannot supply.
Further reading
Background on collecting visual references to communicate a creative direction. The clothing exercise in this guide is an original example.
Published by 3D Mockup. These guides explain a mockup workflow, not manufacturing specifications. Studio access requires a subscription; AI artwork generation uses credits.