 mockup
To make a useful cap mockup, start with a clean logo, place it on the front of the crown, and inspect it at a normal viewing size. Check the curved surface and any visible seams before exporting. Use the image to communicate the intended look, then confirm the actual embroidery or print requirements with your supplier.
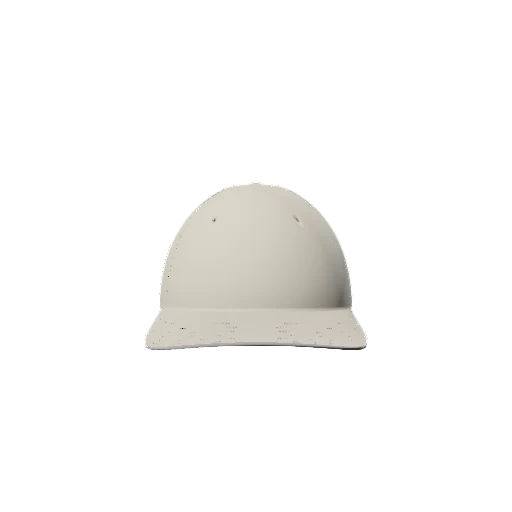

A cap gives your logo a smaller, curved canvas. Simplify the composition and treat embroidery feasibility as a separate production check.
Choose artwork that reads on a small canvas
A logo designed for a large T-shirt graphic may include details that are hard to read on a cap. Start with the strongest element: a symbol, short wordmark, or simplified mark. Keep the original source file so you can make a dedicated small-format version if needed.
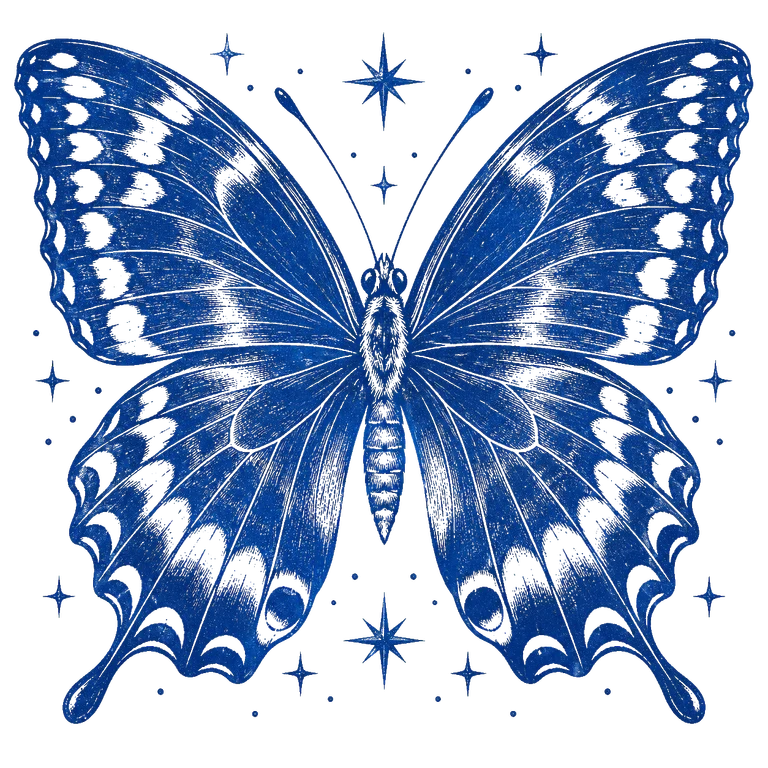
For importing a standalone graphic, remove the unintended background and preserve transparency. Check both the outline and interior details against a light and a dark color. Do not assume that a logo which reads well on a white page will read equally well on the crown of a dark hat.
Prepare a transparent artwork fileBalance the logo on the front of the crown
Open the cap garment in 3D Mockup, add the artwork, and adjust its scale and placement. Leave space between the graphic and the brim. Inspect the visible logo rather than trusting the bounds of a file that may contain large empty margins.
The crown is curved, so a graphic can feel different when you rotate the preview. Check a straight front view and an angled view. If the text appears cramped or distorted around the sides, try a smaller or simpler composition rather than forcing the full design into the space.
Notice seams and construction details
A seam can pass through the area where you want the logo. Check how that affects the composition in the preview and whether it crosses a letter or important detail. Treat this as a prompt to ask a production question, not proof that the design can be stitched or printed there.
Caps differ in their panels, crown shape, materials, and available decoration area. The garment in a digital preview is a concept model, not a verified match for every supplier's blank. Confirm the placement on the actual cap you intend to order.
Do not confuse a logo preview with embroidery digitization
The image layer shows your artwork visually. It does not determine stitch direction, thread colors, density, or the minimum detail that a particular embroidery process can reproduce. Those choices belong in a separate conversation with the supplier.
Ask for the supplier's artwork requirements and, when embroidery is planned, its digitization and sample process. Avoid making production promises based only on a smooth digital render. A stitched sample is a different kind of evidence from the mockup image.
Quick answers
Can a cap mockup tell me whether my logo can be embroidered?
No. It helps you visualize the concept. The supplier must confirm the actual artwork, cap construction, decoration area, and embroidery process.
What is the difference between a hat mockup and a cap mockup?
Hat is the broader category. Choose a preview that matches the specific headwear shape you intend to design, rather than treating all silhouettes as interchangeable.
Published by 3D Mockup. These guides explain a mockup workflow, not manufacturing specifications. Studio access requires a subscription; AI artwork generation uses credits.