 mockup
A beanie logo works on a small, textured surface that changes when the cuff is folded and the hat is worn. Choose the intended beanie style before deciding the logo’s scale. A simple mark with visible space around it is a useful first test, especially when the final decoration will be embroidery.
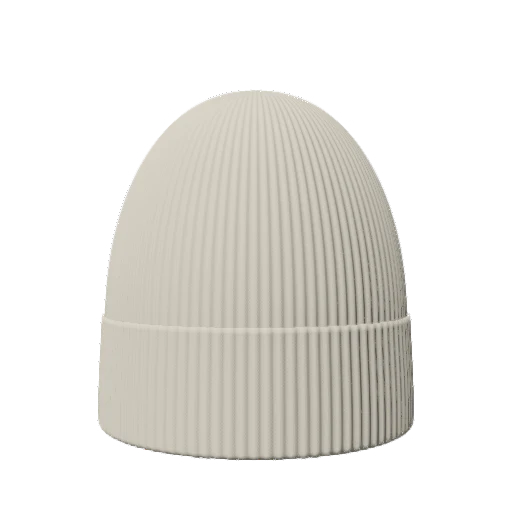
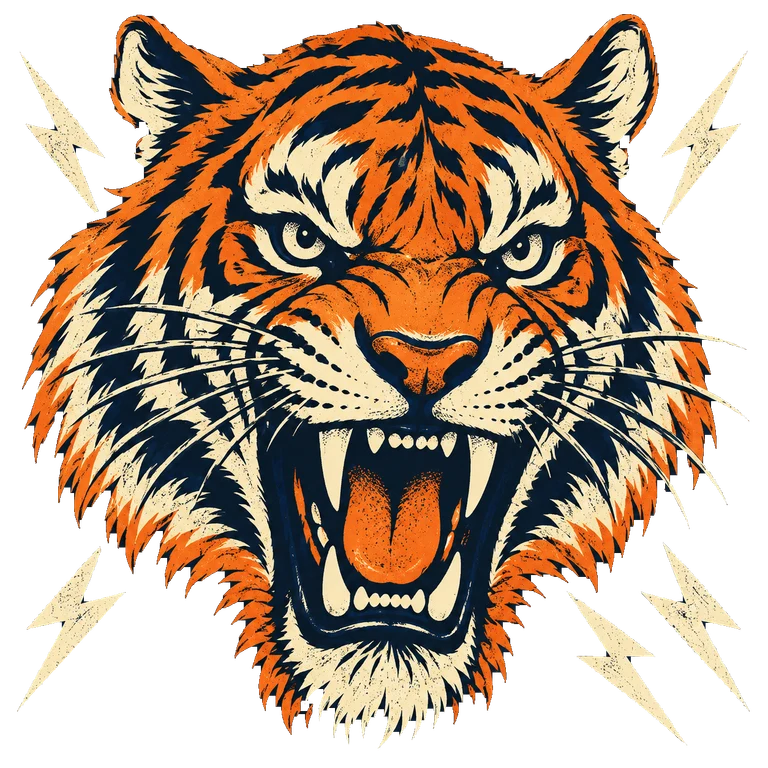
Compose for the visible cuff, not the entire hat. Confirm the decoration on the actual beanie instead of treating an artwork overlay as a stitch proof.
1. Decide which beanie you are designing for
A cuffed beanie, an uncuffed knit cap, and a longer slouch style do not present the same area. Look at the height of the visible cuff and the position of the fold in the model. Compare those features with the actual product reference. If your intended hat has a different cuff or construction, keep that difference in the concept notes.
Do not place the logo first and choose the product afterward. The fold can change how much of the mark is visible and whether it feels vertically centered. A generic digital model helps you explore the composition, but the way a particular knit stretches and sits on a head needs a real garment check.
2. Prepare a logo that reads at a small scale
Try a compact version of the brand mark before importing a full lockup with a slogan and tiny details. Compare a single symbol with the symbol-plus-name version at the size of a small presentation image. If the design only makes sense when zoomed in, simplify it before increasing its size until it touches the edges of the cuff.
Use a clean transparent file and inspect its edges against the intended hat color. Keep meaningful gaps and white details inside the mark. A neat PNG is still visual artwork: the embroidery supplier may need to adapt small lettering, fine lines, or spacing for the actual technique. Confirm those decisions at the selected physical size.
See how to separate logo appearance from embroidery preparation3. Balance the mark inside the visible cuff
Leave visual breathing room above and below the logo, then compare a centered mark with a deliberately offset option if the concept calls for it. These are layout experiments, not universal manufacturing coordinates. Judge the visible shape of the mark, especially if a transparent file contains more empty space on one side than the other.
Inspect the hat from the front and an angle. Check whether the logo approaches a fold, seam, or a part of the surface that turns away from view. A large patch-shaped graphic can feel balanced from one angle and dominate the whole cuff from another. Compare two clear sizes with the same lighting before making tiny positional adjustments.
4. Check contrast without pretending to simulate stitches
A textured knit already creates a busy surface. Start with a simple contrast relationship between the hat and the main logo shape. Inspect the smallest intended preview size and see whether the mark still separates from the background. If several outlines make it harder to read, test a simpler version instead of adding more edge effects.
An image placed on a model does not specify thread color, stitch direction, density, backing, or tension. It also does not establish how a patch will be attached. Name the intended decoration method in the brief and ask the supplier for its relevant proof or sample. A visual concept and a production approval answer different questions.
5. Make a simple beanie concept in 3D Mockup
Choose an available beanie model, add your prepared artwork, and adjust the visible position and scale. Use the 3D view to compare the front and an angle. Keep the scene plain while deciding the logo so dramatic backgrounds do not disguise a composition that still needs work.
Save the project before trying another color. Export the chosen view and open it outside the app to inspect framing and legibility. Keep the original logo file separate. The useful step is having a clear preview to discuss on your phone; it does not convert the graphic into a downloadable embroidery-machine file.
6. Approve the actual decoration on the selected hat
Send the supplier the product reference, original artwork, concept version, desired physical size, and intended decoration method. Ask which positioning references it uses for the cuff and what should be checked across the selected product variants. Confirm the chosen mark rather than including several unlabeled alternatives in the same request.
Inspect a sample with the cuff folded as intended and while the hat is worn. Compare its visibility and finish with the approved concept. Record changes to scale, placement, or logo detail, then update the files before a larger run. Keep the approved sample as a reference for later discussions and reorders.
Quick answers
What size should a beanie logo be?
Choose a readable visual scale for the specific hat, then confirm physical dimensions and decoration limits with the supplier. There is no one measurement that fits every cuff and logo.
Does a beanie mockup show the exact embroidery result?
No. It helps communicate appearance and placement. Review the supplier’s production proof and a physical sample when stitch detail or finish matters.
Is this a free beanie PSD download?
This is a design guide for a mobile 3D workflow, not a PSD download. 3D Mockup is free to download; studio access requires a subscription.
Further reading
Use the selected product’s requirements rather than generalizing a decoration area to every beanie.
Background on small details and the difference between visual artwork and production preparation.
Published by 3D Mockup. These guides explain a mockup workflow, not manufacturing specifications. Studio access requires a subscription; AI artwork generation uses credits.